Installation and First Steps
If the video does not work, you can click here to watch.
1 Software download
You can find the latest version of test.con, test.con runtime as well as test.con studio in the Downloads section.

1. Save zip file
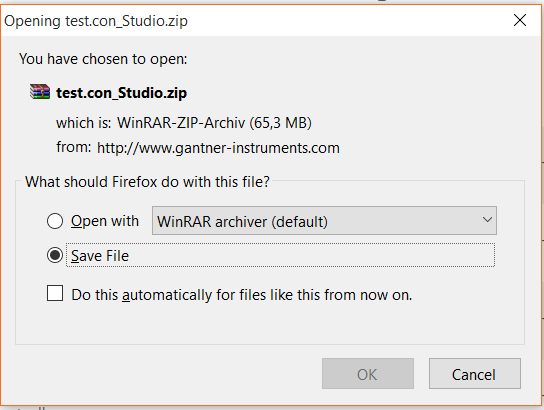
2. Open download folder and unpack file (f. e. with WinRAR)
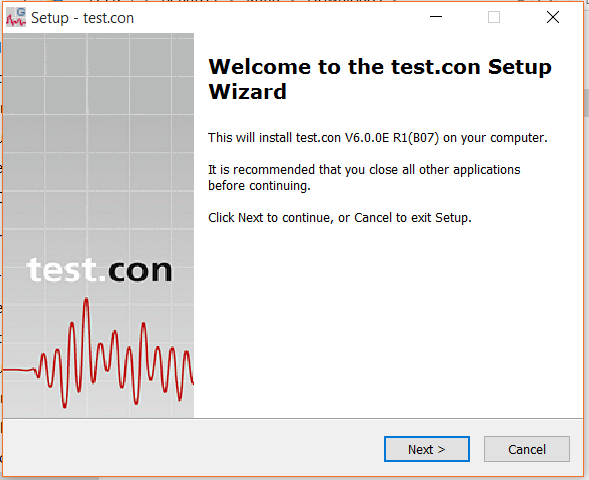
3. Execute Setup.exe
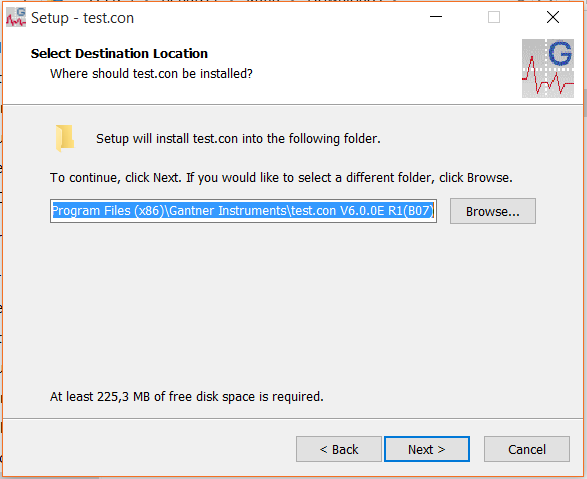
4. Choose directory
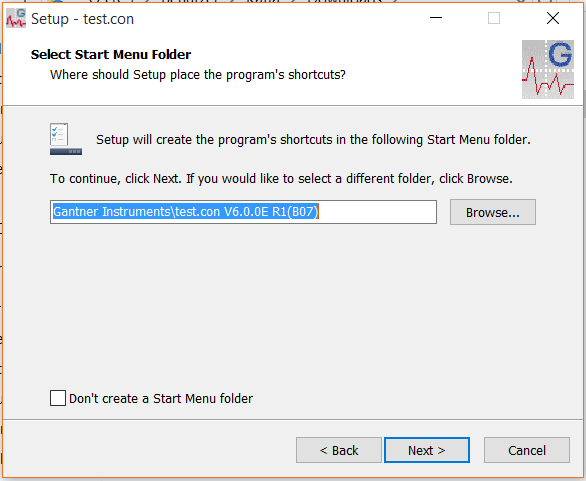
5. Select Start Menu Folder
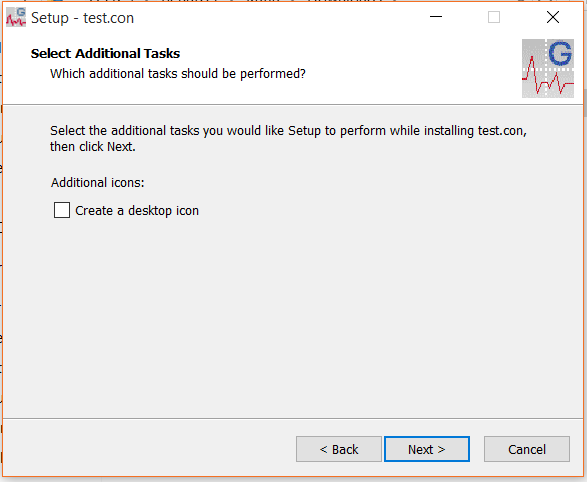
6. Select Additional Tasks
7. Install application

2 Connect the Q.station 101
For precise instructions, please follow the directions in the manual for the Q.station.
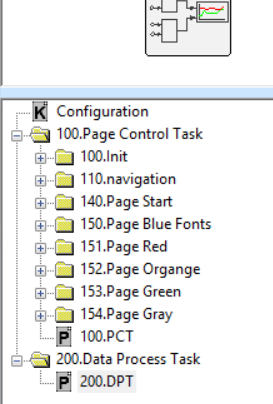
3 User interface
The user interface of the software test.con has the following structure:
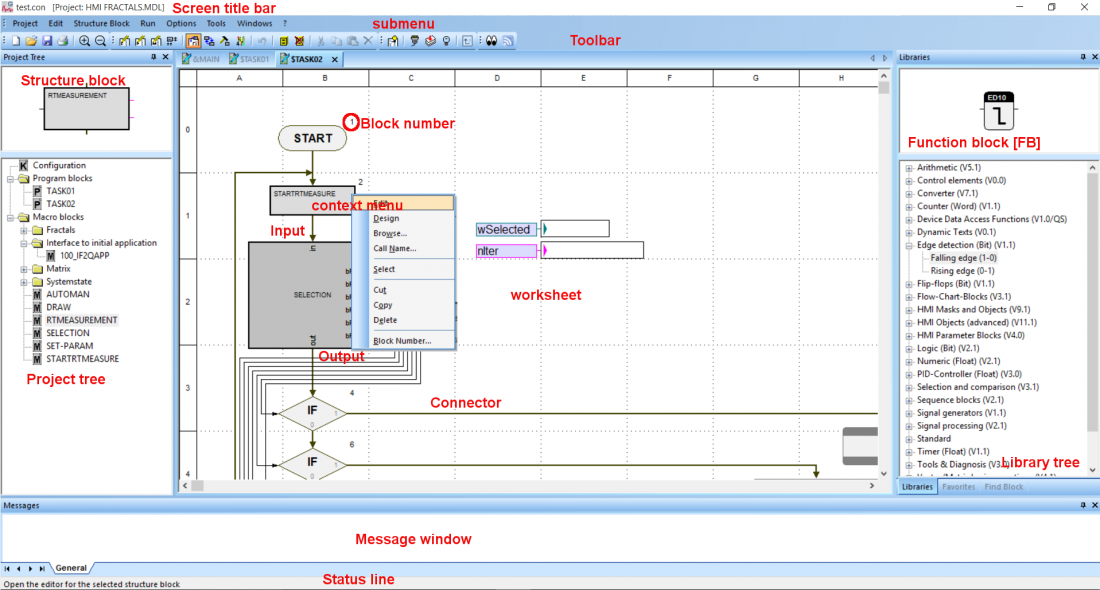
Commands can be called from the submenus, toolbar, context menu (right click) and key combination.
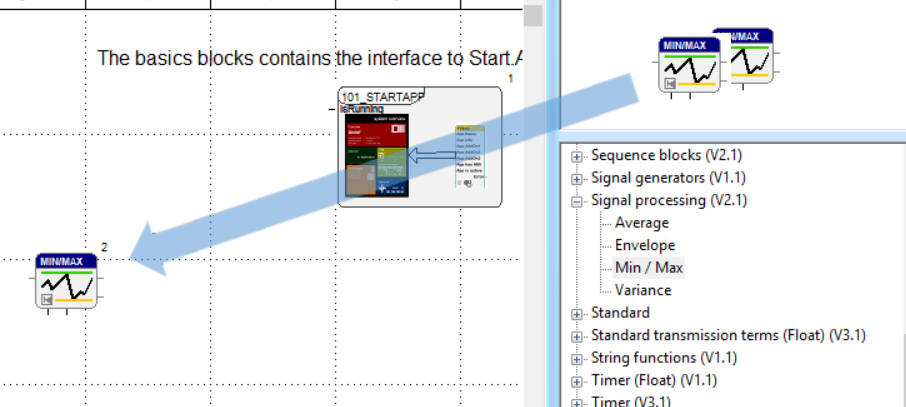
Function blocks are located on the right in the library tree and can be implemented on the worksheet by drag&drop.
4 Create a real-time application and a user space application
To be able to program the Q.station you generally need two types of programs:
- Real-time application: Data transfer, data processing, data buffering are processed in the real-time kernel
- User space application: For programming a user-defined graphical interface of the integrated screen or a VNC server on a Q.station
4.1 Create a real-time application
To create a real-time application, you can have a look at the following video from our video series, or follow the step-by-step description.
Content
- Structure of the Q.station (00:20)
- Adjust cycle time in test.commander (00:56)
- Introduction in test.con and the real-time application (01:13)
- Program real-time kernel (Example: Q.station and tweezers with strain gauge) (04:06)
If the video does not work, you can click here to watch.
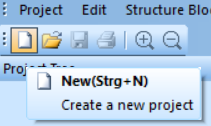
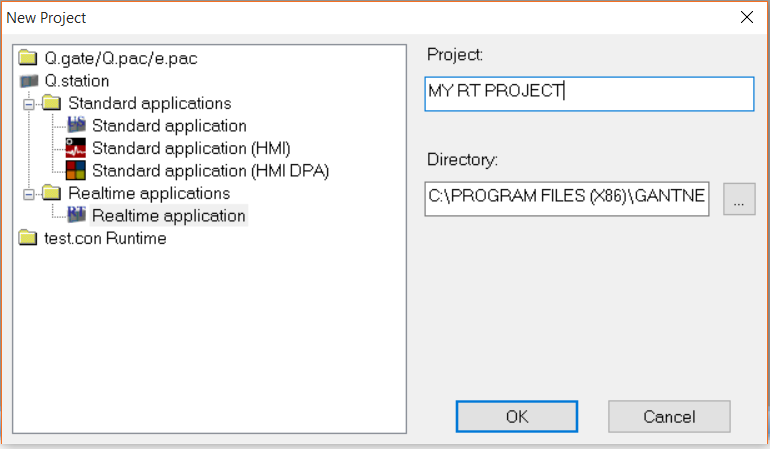
1. Create a new project
2. Select real-time application and choose a project name (here: MY RT PROJECT)
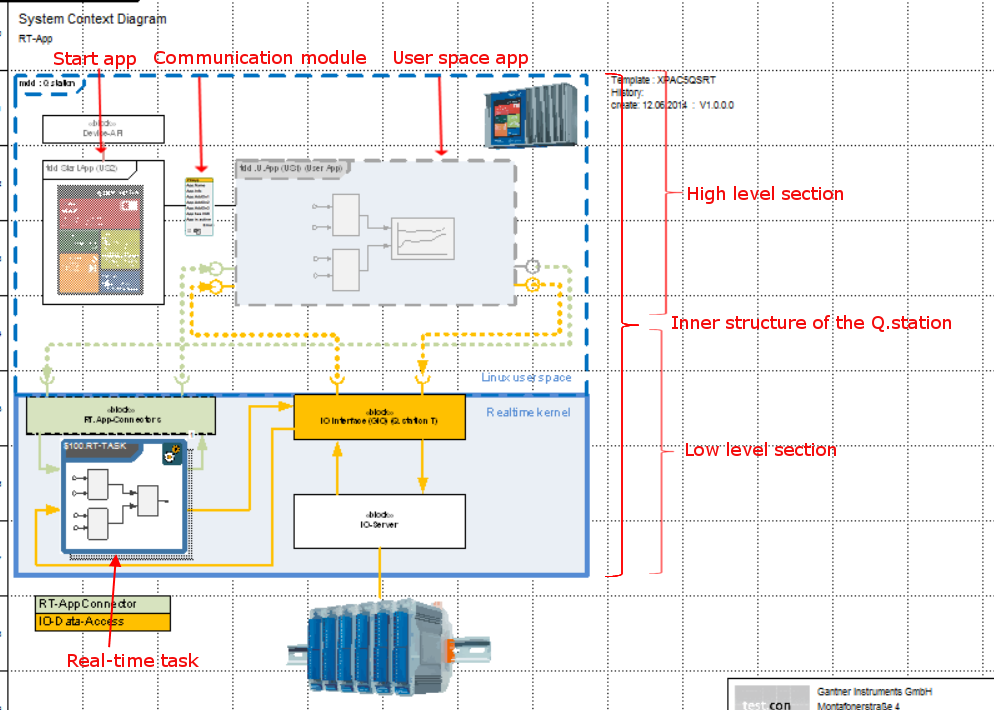
3. A worksheet will open with a predefined template:
This is the configuration level (System Context Diagram for a real-time application)
4. Find a Q.station which is connected to the network
Tools -> Network PAC-Scanner

5. The network is checked for connected controllers
6. Select Q.station 101 DT -> click OK

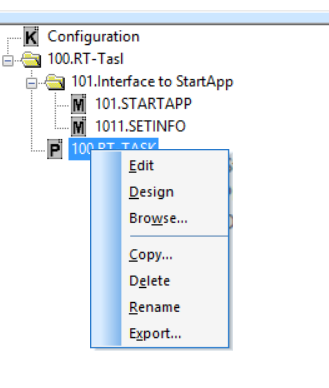
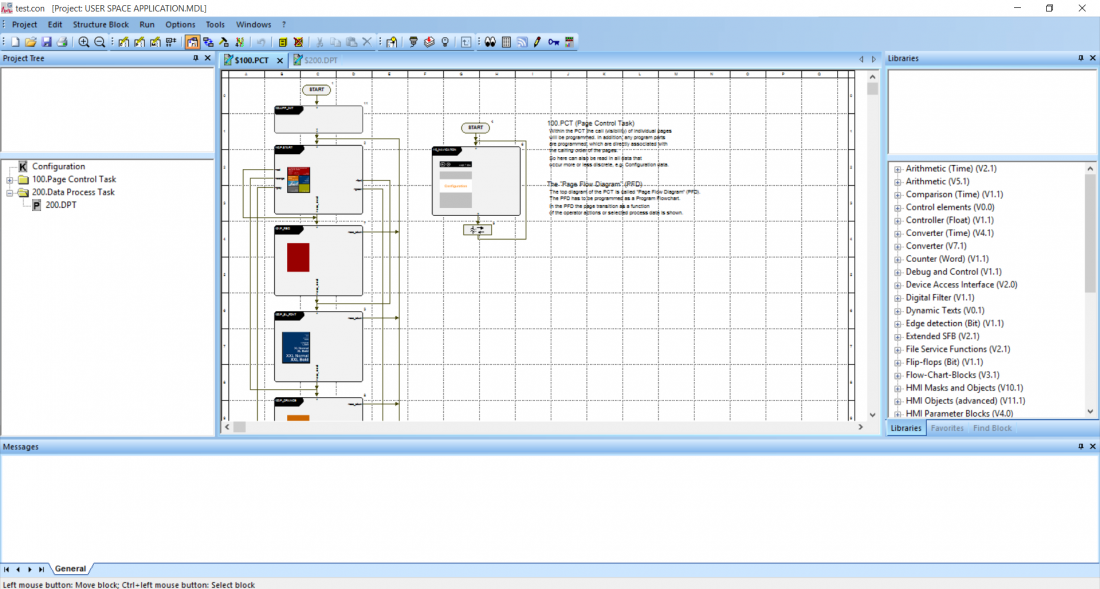
7. To edit real-time applications -> right click on the program block 100.RT-TASK on the left side in the project tree -> edit
8. The worksheet, on which the function blocks are placed will open
The base macro sustains the communication to the start app
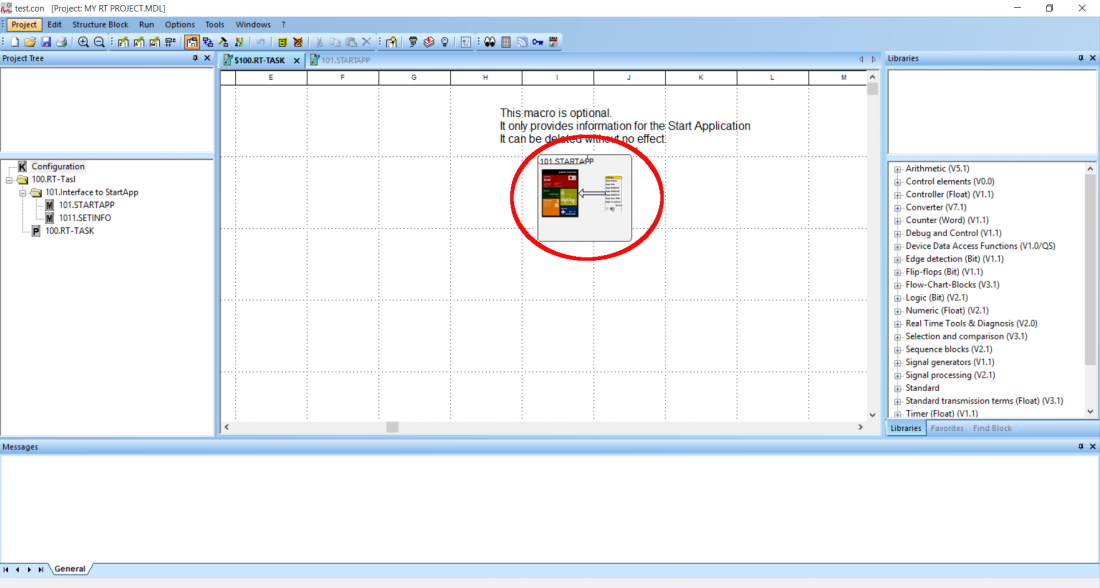
9. Function blocks have to be dragged into the worksheet

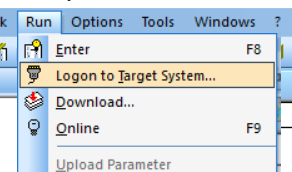
10. Run mode -> Logon to target system
11. Select Q.station and click on connect
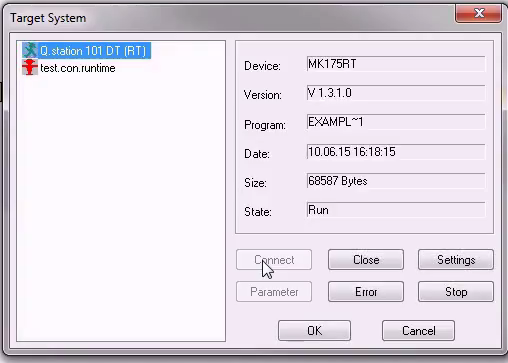
12. The red icon will be depicted green
13. click on OK
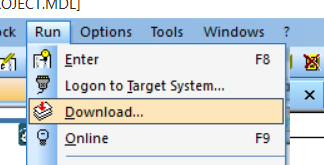
14. With Run -> Download -> the application will be loaded on the Q.station
The real-time project will run on the controller until it is changed or a new program is downloaded on the controller.
4.2 Create a user space application
Program a graphical user-defined interface of the on-board screen on a Q.station or a VNC server
To program a user-space application, you can also have a look at the following video from our video series, or just follow the step-by-step description.
Content
- Introduction
- Create user space project with simple HMI interface (screen of the Q.station) (00:30)
- HMI blocks in the favorites tree -> display programming (HMI) (03:45)
- Create simple HMI design (04:25)
- Connect the HMI object (display on the screen) with application connectors (07:45)
Steps for display programming
- Configure max value (04:15)
- Configure min value (10:48)
- Button block to reset values (12:00)
- Configure and connect trend block
- Upload program into the Q.station (15:35)
If the video does not work, you can click here to watch.
1. Create a new project
2. Select standard application (HMI DPA) -> choose name (here: USER-SPACE-APPLICATION)

3. The project will open with an already loaded template
4. Find a Q.station connected to the network
Tools -> network PAC scanner
5. The network is scanned for connected controllers
6. Select Q.station 101 DT -> click on OK
7. Open DPT project -> function blocks are implemented for the real-time application in this program block
8. Function blocks are implemented into this worksheet by drag&drop
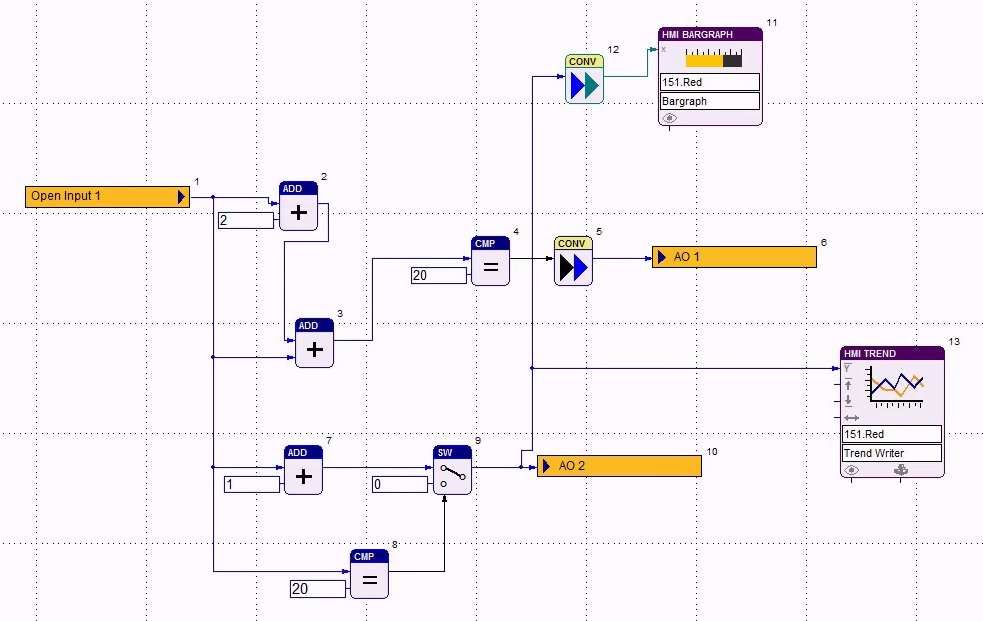
9. HMI blocks have to be added to assign visual objects to I/Os
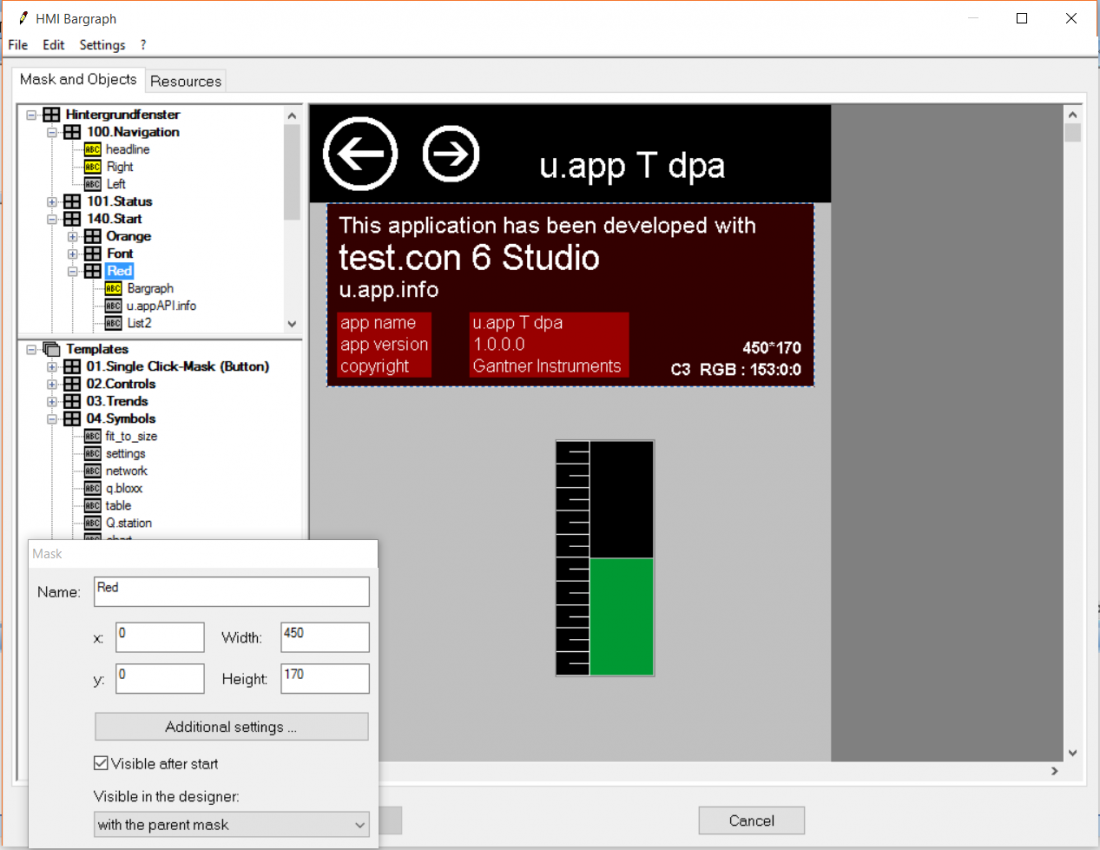
f. e. HMI Masks and Objects -> Bargraph
10. The mask designer will open

11. The object can now be adjusted by changing sizes, colors and shapes
12. When the application is finished, ...
13. … you can download the program on the Q.station:
Run -> Logon to target system
14. Select Q.station and click on connect
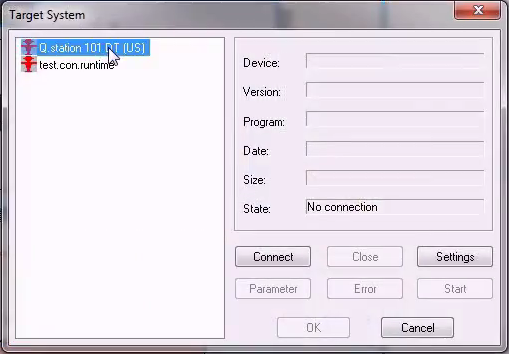
15. The red icon will be depicted green
16. Click on OK
17. The application is loaded on the Q.station by clicking on Run -> Download...
18. Now the user space application is running on the controller
19. Click on connect
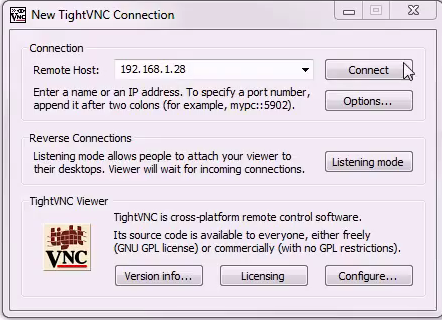
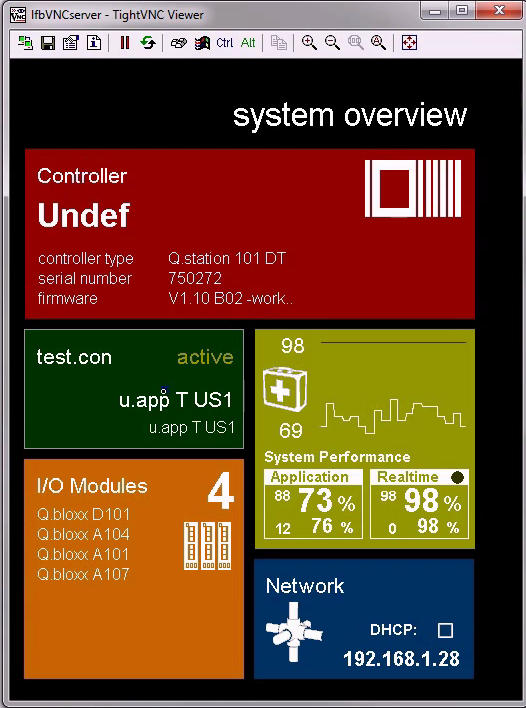
20. The project can now be viewed on the built-in screen or via VNC viewer on the computer.
21. Now you can see the screen
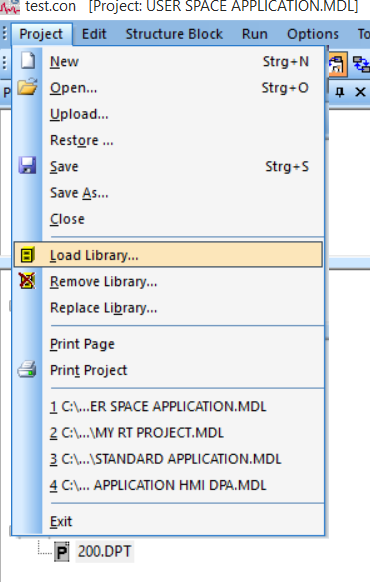
2. Select the needed libraries -> Load
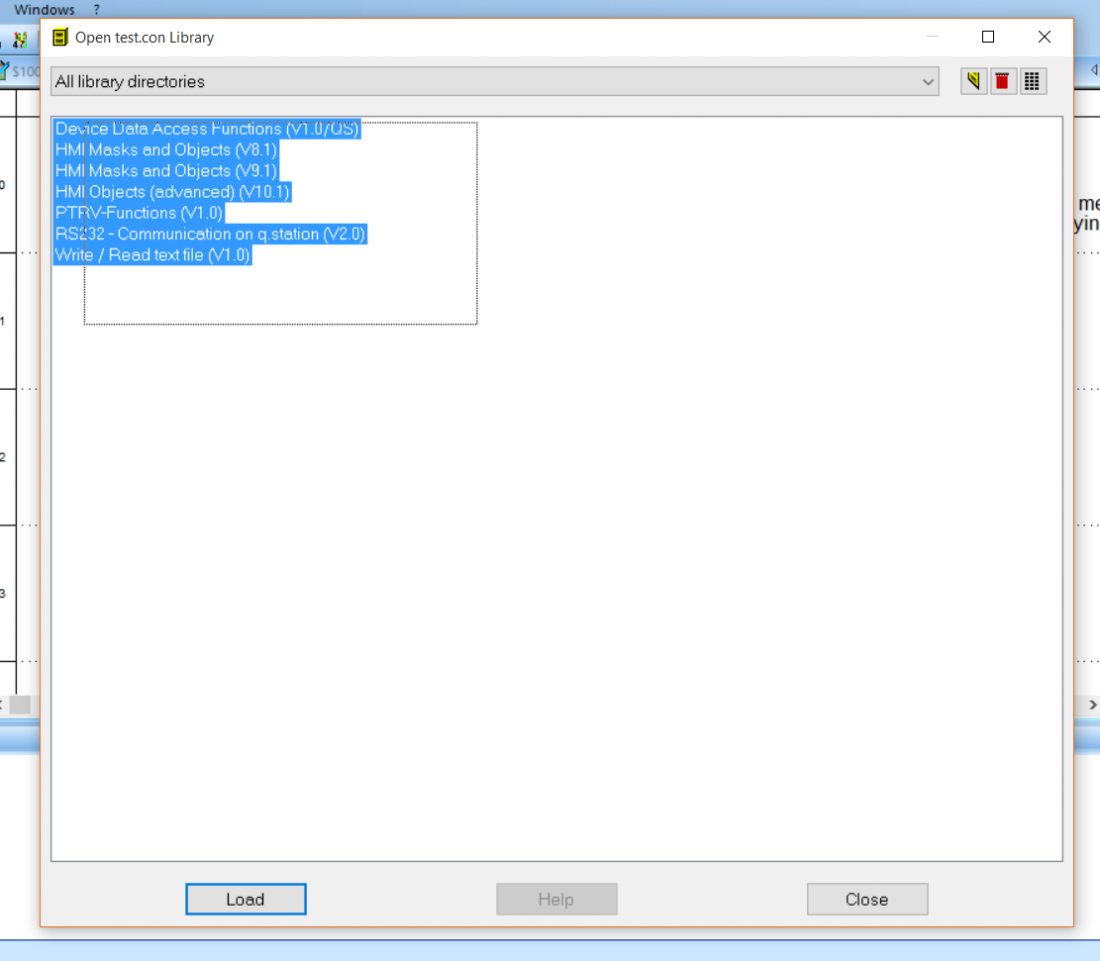
The loaded libraries are now in the library tree